Let’s automate your garage! 🚗
Tired of fumbling for keys or remote controls? It’s time to upgrade your garage with a smart keypad! In this guide, we’ll show you how to build a custom solution using an ESP8266 D1 Mini, a Wiegand keypad, and the powerful ESPHome framework. 🛠️
Understanding the Code 💻
Before we dive into the hardware, let’s break down the ESPHome code:
YAML
esphome:
  name: garage-keypad

esp8266:
  board: d1_mini

# Enable logging
logger:

# Enable Home Assistant API
api:

ota:
  platform: esphome
  password:

wifi:
  ssid: "YOUR_SSID"
  password: "YOUR_PASSWORD"

  # Enable fallback hotspot (captive portal) in case wifi connection fails
  ap:
    ssid:   1. www.makeriot2020.com www.makeriot2020.com "Garage-Keypad Fallback Hotspot"
    password: "FALLBACK_PASSWORD"

captive_portal:


wiegand:
  - id: mykeypad
    d0: D1
    d1: D2
    on_tag:
      then:
        - homeassistant.tag_scanned: !lambda 'return x;'
This code sets up a basic ESPHome configuration for a D1 Mini, enabling WiFi connectivity, logging, and communication with Home Assistant. The magic happens with the wiegand component, which reads data from the keypad and sends it to Home Assistant. 🪄 Additional information can be found on https://esphome.io/components/wiegand.html
Gather Your Gear 🛠️
To build your smart garage, you’ll need:
- ESP8266 D1 Mini development board ⚡
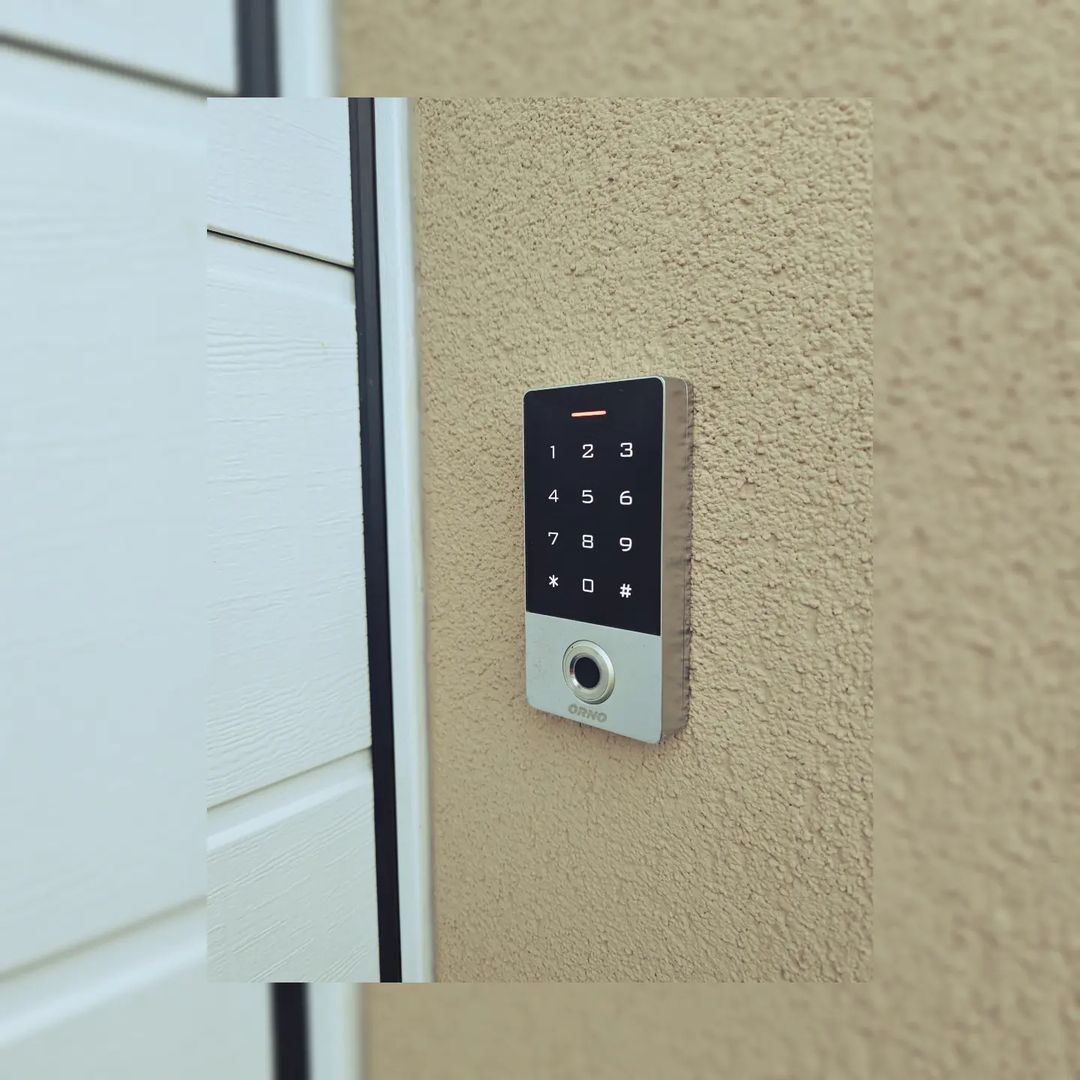
- Wiegand keypad 🔢 (Amazon Link)
- Power supply (5V) 🔋
- Soldering iron and basic electronics tools 🔧
Let’s Build! 🔨
- Connect the keypad: Attach the Wiegand keypad to the D1 and D2 pins on your D1 Mini. 🔌
- Power it up: Connect the D1 Mini to a 5V power supply. 🔋
- Configure ESPHome: Replace the placeholder values in the code with your WiFi credentials and OTA password. 📝
- Compile and flash: Use the ESPHome CLI to compile the code and flash it to your D1 Mini. 🔥
Integrate with Home Assistant 🏠
- Add the device: Incorporate your ESPHome device into Home Assistant. 🤖
- Create automations: Set up automations to control your garage door based on the keypad input. For example, you can open the garage when a specific tag is scanned. 🚪
Extra Tips 💡
- Security: Protect your system with strong passwords and consider adding encryption. 🔒
- Error handling: Implement error handling to gracefully handle unexpected situations. 🛠️
- Expand functionality: Explore adding features like access logs, user management, or integration with other smart home devices. 💡
By following these steps, you’ll have a smart garage system that’s convenient and secure. Enjoy the freedom of keyless entry! 🔑🚗
